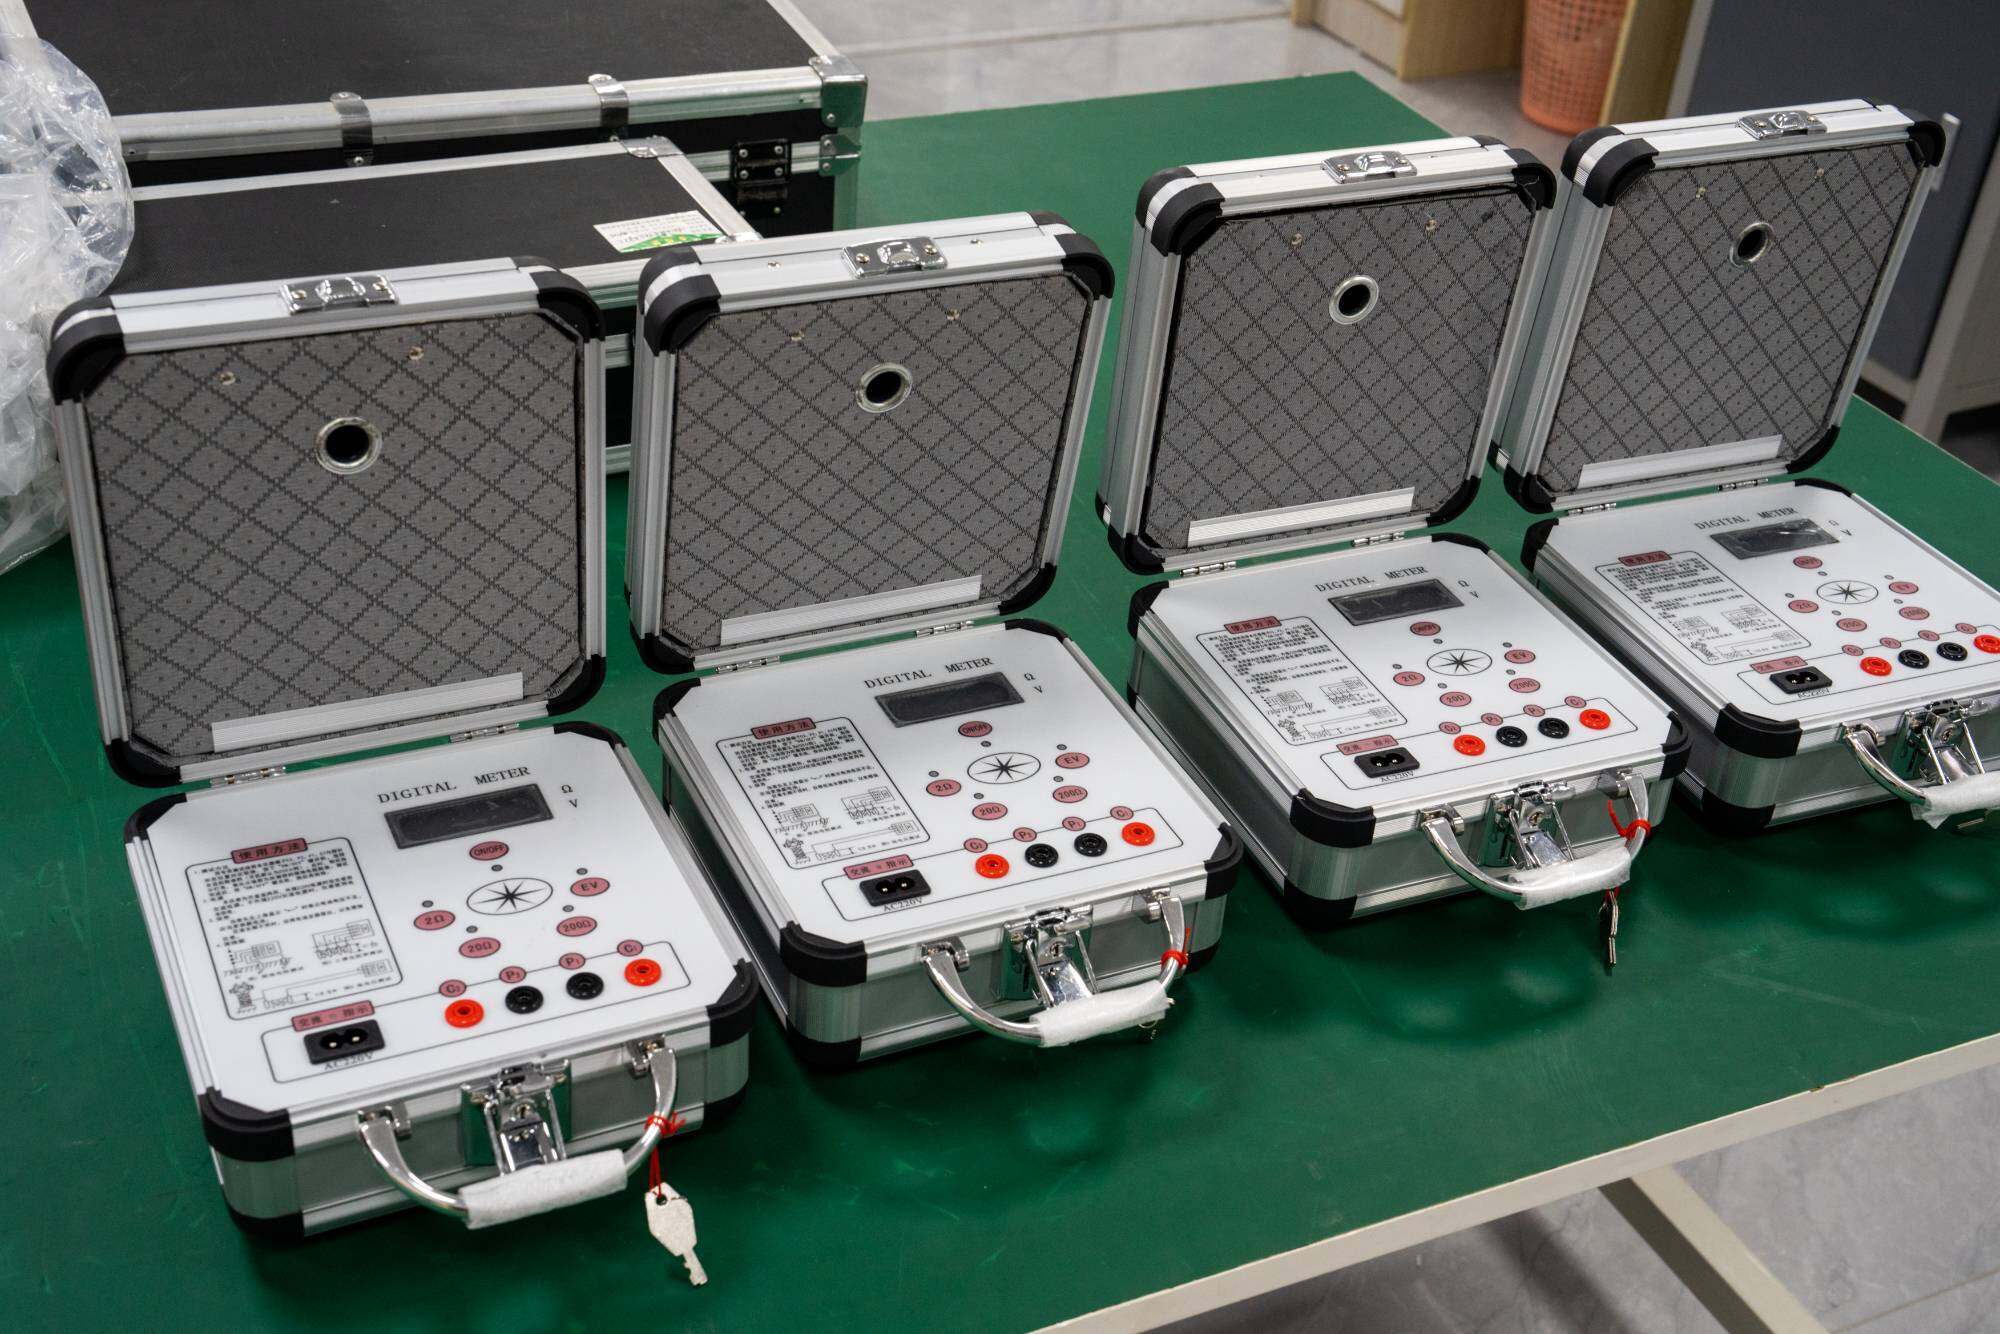
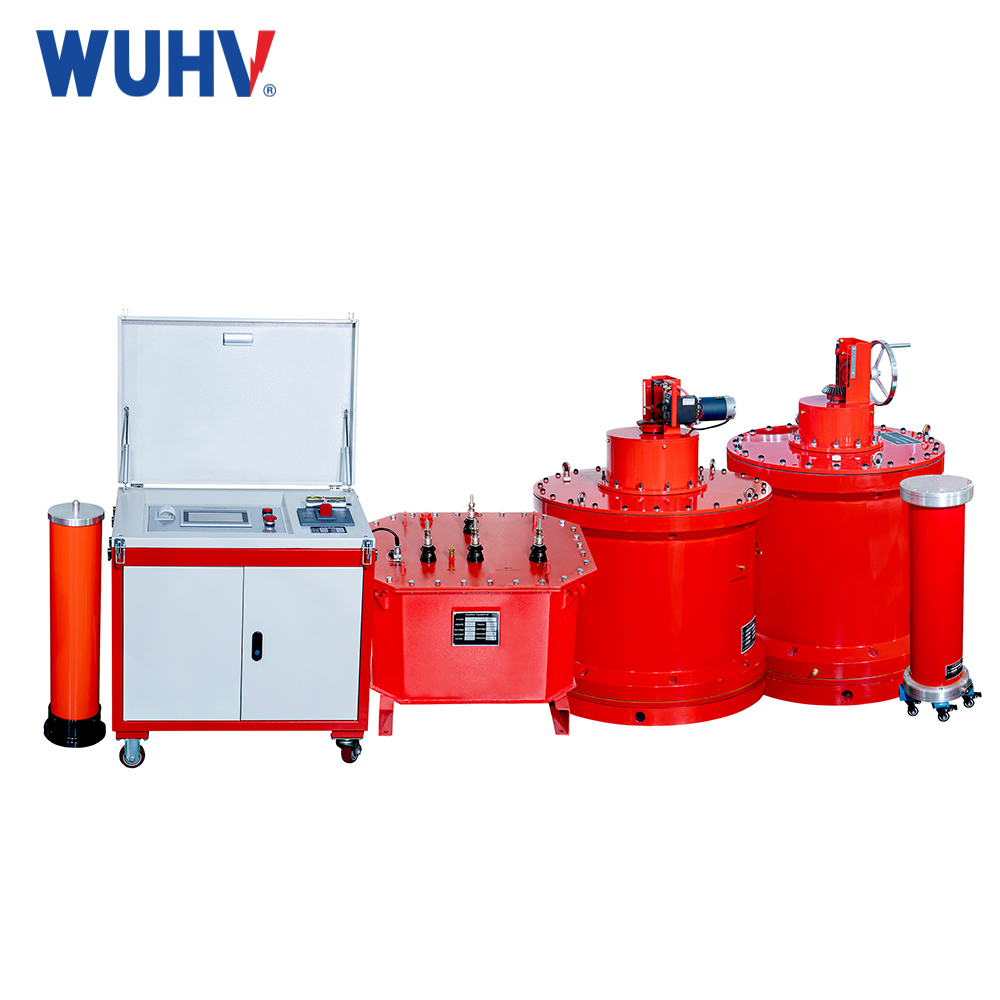
The grounding resistance testerL'utilisation d'une alimentation à très haute tension peut aider de nombreux techniciens du secteur de l'énergie à réaliser divers tests de puissance plus facilement.
1、 Preparation work
1. Carefully read the user manual of the grounding resistance tester, familiarize yourself with the structure, performance, and operation methods of the grounding resistance tester.
2. All measuring tools and accessories must be prepared, instruments and grounding probes must be wiped, especially grounding probes, and dirt and rust affecting conductivity on their surfaces must be removed.
3. Disconnect the connection point between the grounding main line and the grounding body, or the connection point of all grounding branches on the grounding main line, so that the grounding body is disconnected from any connection and becomes an independent body.
Preparation work is an important task before measurement. If these preparations are not made, it is likely that the measurement will not proceed smoothly or the measurement results will not be accurate enough.
2、 Measurement program
1. Insert two grounding probes along the radiation direction of the grounding body into the ground at a distance of 20m and 40m from the grounding body, with a depth of 400mm,
2. Place the grounding resistance measuring instrument horizontally near the grounding body and then wire it. The wiring method is as follows.
① Connect the grounding body to the terminal "E1" of the grounding measuring instrument (three terminal button measuring instrument) or the common terminal of C2 (four terminal button measuring instrument) and "short circuit" with a short dedicated wire.
② Connect the measuring probe (current probe) from the grounding body 40m to the terminal "C1" of the measuring instrument with a long dedicated wire.
③ Connect the measuring probe (potential probe) to the terminal "P1" of the measuring instrument with a dedicated wire in the middle of the remaining length.
3. After placing the grounding resistance meter horizontally, check and ensure that the pointer of the ammeter points to the centerline. If it does not point to the center line, adjust the "zero adjuster" to make the instrument pointer point to the center line.
4. Set the "multiple scale" (or coarse adjustment knob) to a larger multiple, slowly rotate the generator handle to make the pointer start moving. Simultaneously rotate the "measuring dial" (or fine-tuning knob) to make the pointer of the vibrating mirror point towards the centerline.
When the pointer of the vibrating mirror approaches the balance (the pointer is close to the center line), the speed of rotating the handle should be increased to above 120r/min, and the "measuring dial" should be adjusted so that the pointer points to the center line.
6. If the reading of the "measuring scale disk" is too small (<1), it is difficult to read accurate values, indicating that the multiplier of the scale is too large. At this point, reduce the "magnification scale" by a factor and readjust the "measurement scale" so that the pointer points to the centerline and the reading is accurate.
7. Calculation of measurement results, i.e. r grounding=multiply scale reading x "measurement dial" reading.


